Install
FOGCITY® EASY | ADHESIVE SEAL
For visors without studs
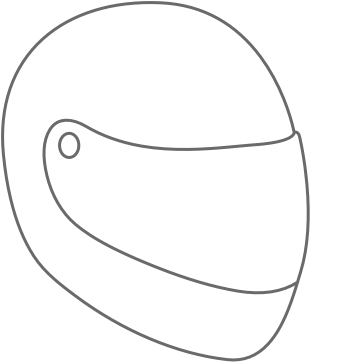
Step 1
Position the visor of the helmet in the most downwards (closed) position before installing the FogCity® Easy lens.
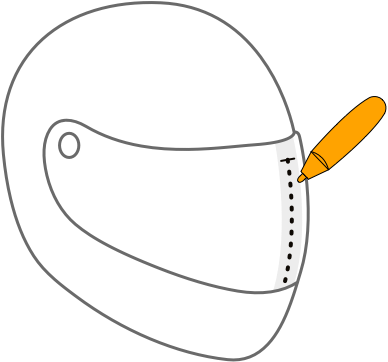
Step 2
Place a removable, adhesive tape on the vertical centerline of the helmet visor. Mark the indicated height of the top edge of the FogCity® Easy lens and the exact centerline using a fine liner or fine marker.
Mark the indicated top edge of the FogCity® lens on the visor while making sure to leave enough distance so the top edge of the FogCity® Easy lens will not interfere with the rubber trim when opening the visor.
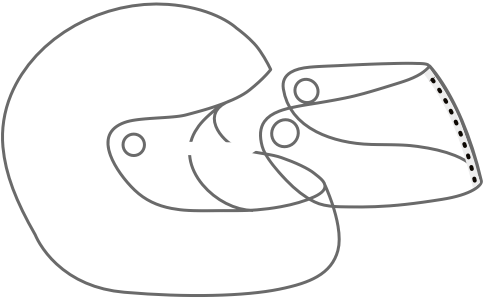
Step 3
Take off the visor from the helmet according to the user manual. Make sure the inside of the visor is properly cleaned as described here.
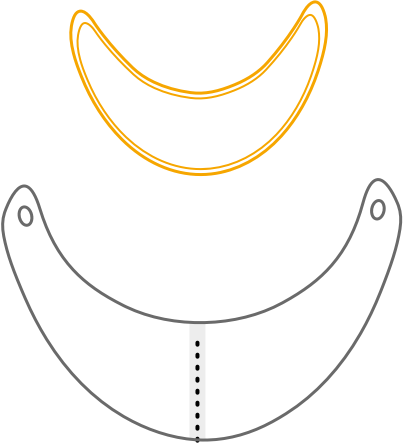
Step 4
Remove the protective liner from the adhesive edge of the FogCity® Easy lens. Hold the visor insert by its edges and gently fold it into a “U” shape with the adhesive facing the visor.
Step 5
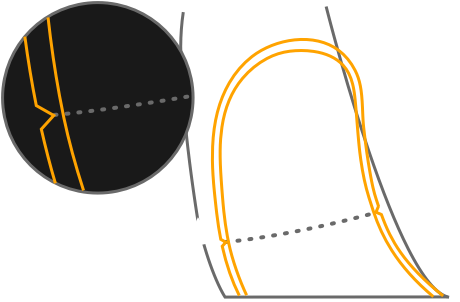
Align the FogCity® visor insert with the visor reference markings by placing the vertical “V” shape indicators of the visor insert on the vertical reference line. The top should not exceed the height mark indicating the top edge of theFogCity® Easy lens.
Step 6
Place the FogCity® visor insert in the visor while ensuring that the adhesive of the visor insert makes contact with the visor. Allow the center of the visor insert, at both the top and bottom, to contact the visor first. Afterward, carefully lay down the remainder of the visor insert from the center outward.
Step 7
Once in place, gently apply some pressure around the edge of the visor insert starting from the center.
Step 8
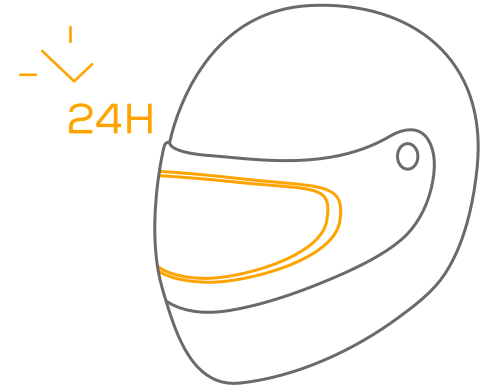
Remove the adhesive tape from the outside of visor and place the visor back on the helmet. Check if the visor can open and close normally. For the best result, allow the adhesive to harden for 24 hours before reinstalling the visor onto the helmet.
Step 9
Ride fog free!
FOGCITY® START | PRESSED SEAL
For visors with FogCity® studs
Step 1
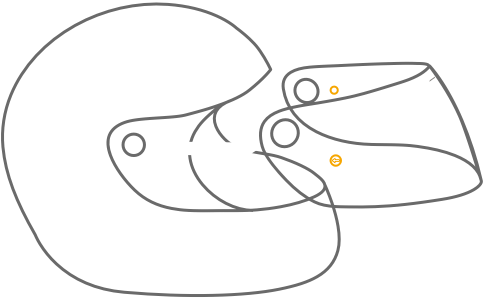
Take off the visor from the helmet according to the user manual.
Step 2
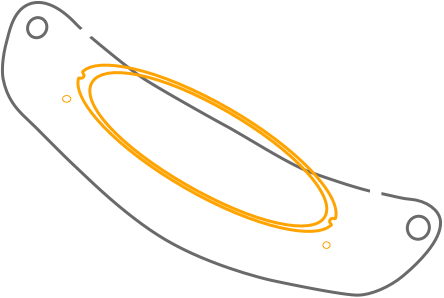
Take off the protective foil from the inside of the lens where the seal is positioned. Stretch the visor by slightly bending it, place the FogCity® Start lens, with the seal towards the visor, between the studs, and let the visor bend back in its original position.
Step 3
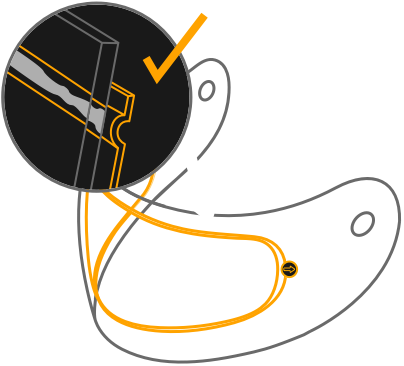
Check if the seal of the lens touches the visor all around the lens. If this is not the case, make sure to adjust the studs as described here.
Step 4
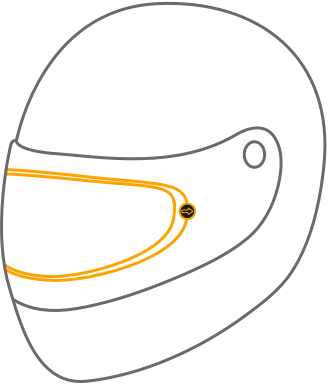
Take off the protective foil from the outside of the lens and put the visor back on the helmet according to the user manual.
Step 5
Ride fog-free!
FOGCITY® GO | FLEXIBLE SEAL
For visors with FogCity® studs

Step 1
Take off the visor from the helmet according to the user manual.

Step 2
Take off the protective foil from the inside of the lens where the seal is positioned. Stretch the visor by slightly bending it, place the FogCity® Go lens, with the seal towards the visor, between the studs, and let the visor bend back in its original position.
Step 3
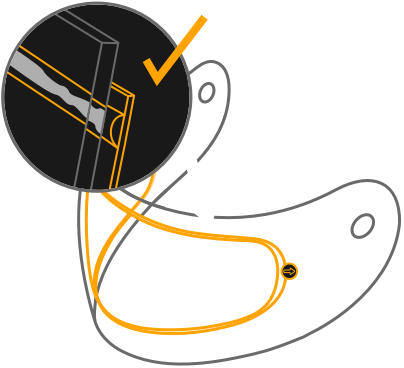
Check if the seal of the lens touches the visor all around the lens. If this is not the case, make sure to adjust the studs as described here.

Step 4
Take off the protective foil from the outside of the lens and put the visor back on the helmet according to the user manual.
Step 5
Ride fog-free!
Other support pages

Remove

Adjust
